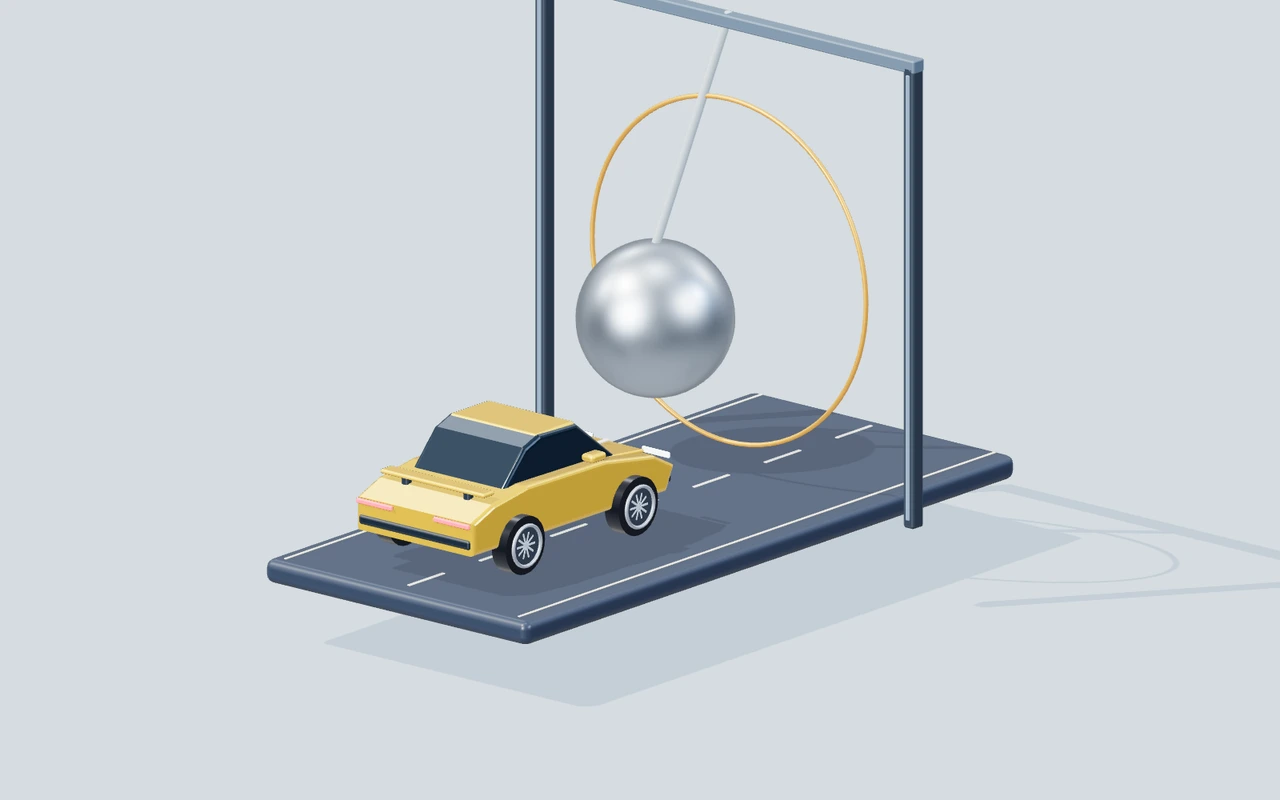
Waiting can feel like wasting time in a driving game. In Pendulum Run, it can be the action that makes the rest of the attempt understandable. A swinging hazard changes the space in front of the car, so simply reaching the crossing quickly does not prepare a safe route through it. The useful question is whether you have observed enough of the movement to choose a window and enough supported room to carry the car across. This guide focuses on purposeful waiting: stop where you can read the hazard, prepare a straightforward crossing and keep the next decision clear after the vehicle passes.
Choose a waiting place: Stay outside the decision zone
A safe observation is easier when the car is not already drifting into the hazard’s path. Reduce speed before reaching the crossing area and choose a supported position from which the movement remains visible. If the vehicle keeps rolling while you watch, your available space changes before you have made a decision.
The waiting place does not need to be an exact coordinate. It needs to leave enough room to prepare a straightforward approach without putting the car beneath the swing. Look at the hazard and the surface you will use after it. If you stop too close, every opening may feel urgent because there is little room to adjust. If the view is difficult to read, pause and inspect the scene. Observation should reduce uncertainty rather than turn the car into a moving target while you are distracted.
Read a cycle: Direction matters as well as position
A hazard at one side of the route might be moving away from the crossing or returning toward it. One still-looking moment cannot tell you which. Watch enough movement to recognise the direction and the changing space around the path you intend to use.
You are not searching for a secret timing formula. You are building a prediction: the hazard is moving clear, and the car has room to pass before that space closes again. A full observed cycle can make the next opening easier to recognise, especially on your first attempt at a setting. Low slows relevant hazards, giving more time to separate position from direction. Use that time to learn the pattern before trying a quicker crossing. A familiar cycle is more useful than repeatedly committing at whichever instant the obstacle happens to look farthest away.
Commit to the crossing: Avoid stopping in the middle
A prepared crossing needs a line and enough momentum to carry the car through the dangerous area. Starting, hesitating under the hazard and then trying to accelerate again leaves the vehicle exposed for longer. That hesitation often comes from making the timing decision after movement has already begun.
Before approaching, identify the supported area beyond the obstacle. Once you choose the window, follow a simple line toward that space. Do not interpret this as a reason to hold maximum throttle everywhere. The useful speed is one you can prepare and carry through while keeping the car manageable. If the opening no longer looks clear before you enter, wait again rather than creeping into the middle to decide. A deliberate departure is different from an impatient burst, because it begins with a readable route and a plausible exit.
Reset the question: Treat each hazard separately
Clearing one swing does not guarantee that the next is in the same phase or has the same opening when you arrive. After passing, let the supported position become clear and read the next obstacle as a new decision. Carry forward the observation routine rather than assuming the previous timing will repeat automatically.
Use the progress display to understand which hazards have been passed. Recovery can return you to a safer point while preserving useful progress, but it should not make the next crossing thoughtless. If a contact or fall occurs, remember whether the problem was an unread cycle, a hesitant entry or poor positioning after the crossing. Choose one correction for the next life. A successful route is a sequence of prepared windows, not one long acceleration that depends on every swing happening to move aside.
The swing looks clear but is returning
You begin moving because the hazard appears far from the centre. As the car enters, the obstacle comes back toward the crossing and the gap that looked comfortable closes much sooner than expected. Return to a safe observation position and watch direction before committing. Identify whether the hazard is moving away from your route or returning toward it. Keep the intended crossing line familiar.
Notice whether you can predict the next opening before it arrives. A useful observation names movement and space together, rather than relying on the obstacle’s position in one moment of the camera view. Use that prediction for one measured crossing. If contact still occurs, inspect entry momentum next. Do not replace the direction observation with a larger acceleration before understanding why the original window was too short.
The car hesitates beneath the hazard
You start through an opening, release the accelerator halfway across and wait because the swing feels close. The vehicle remains in the dangerous area while you try to decide whether to move again. Make the commitment decision before entry. From a supported waiting place, choose the outgoing area and prepare a simple crossing that can carry the car through without requiring a second timing decision beneath the obstacle.
Watch how long the vehicle stays inside the crossing area. A cleaner passage should leave you reading the next supported surface, rather than making repeated stop-start corrections while the hazard returns. If the approach still feels uncertain, choose a calmer difficulty and rehearse one crossing. Purposeful waiting before entry gives you more control than hesitation in the middle, where the obstacle determines how much room remains.
Waiting slowly becomes drifting
You release the accelerator to observe the swing, but the car continues moving forward. While your attention is on the hazard, the supported waiting space becomes smaller and the next opening starts to feel urgent. Use the brake to settle the vehicle before observing. Check that the car is outside the hazard’s path, then watch a cycle from that clearer position without adding a steering experiment at the same time.
Notice whether the car remains where you intended while the hazard moves. A stable waiting place helps distinguish the obstacle’s changing position from your own unintended approach. Keep that settled opening for the next attempt. If the view is still difficult, use pause briefly to inspect the route, then resume and read the actual movement before committing. Do not treat rolling forward as a necessary part of waiting.
The first hazard is clear and the next is rushed
After passing a swing, you keep accelerating because the success makes the route feel solved. The next obstacle is already moving differently when you arrive, and you enter without identifying its outgoing space. After the first crossing, recognise support and reduce movement enough to read the next swing. Apply the same waiting-and-window routine to that obstacle instead of copying the previous entry timing.
Watch whether the progress indicator and the visible obstacle agree about the next task. The useful evidence is a prepared second crossing, not only the speed carried from the first one. Build the route one hazard at a time. Keep a successful observation routine and adjust it to the next location. A fresh run can test the whole sequence once the individual windows are understandable.
Keep the experiment useful: Controls, recovery and setup
Before trying the exercise, confirm the current mission in Pendulum Run: Pass three swinging wrecking balls and reach the far end of the suspended bridge. The player’s controls table is the reference for the actual actions available. W / ↑ means accelerate. S / ↓ means brake; keep holding to reverse. A / D means steer. Start and focus the canvas before using the keyboard. On a phone, use the labelled touch actions under the scene. Change one input at a time while learning the response; unfamiliar finger placement can otherwise look like an unexplained change in the game’s handling.
Difficulty and Graphics answer different questions. Low creates a calmer learning condition by changing the relevant mission settings; Medium removes some assistance; High uses the base challenge. Changing difficulty begins a fresh run, so choose it before comparing attempts. Graphics changes the rendered scene: Low reduces resolution and disables sunlight shadows, Medium adds shadows, and High increases sharpness, shadow detail and material reflections. A clearer picture can help you read the scene, but it does not replace the movement decision described in this article. Keep difficulty fixed while testing a technique.
Three lives give a run room to continue after detected failure. Read the reason on the Continue panel and choose one correction before recovering. Continue restores a safe position while completed mission objectives remain where the mode supports them. Reset vehicle can recover an awkward position without refreshing the page or spending a life. Recovery does not mean a completely fresh mission: choose Start a new run when you want the original opening. A paused panel stops the active simulation, and a voluntary reset adds no time penalty.
Use the pause control if you need to read, change hand position or look away. Sound and background music have separate controls and begin after an interaction; they are optional feedback rather than prerequisites for understanding the visible target. Fullscreen gives the scene more room, with an expanded-player fallback where the native API is unavailable. If your experiment is about steering or timing, keep the browser, input arrangement and graphics profile consistent. A score from one isolated attempt tells you less than a decision that leaves the vehicle well positioned in several attempts.
Decisions at a glance
| Situation | Useful action | Evidence to watch |
|---|---|---|
| The swing looks clear but is returning | Return to a safe observation position and watch direction before committing. Identify whether the hazard is moving away from your route or returning toward it. Keep the intended crossing line familiar. | Notice whether you can predict the next opening before it arrives. A useful observation names movement and space together, rather than relying on the obstacle’s position in one moment of the camera view. |
| The car hesitates beneath the hazard | Make the commitment decision before entry. From a supported waiting place, choose the outgoing area and prepare a simple crossing that can carry the car through without requiring a second timing decision beneath the obstacle. | Watch how long the vehicle stays inside the crossing area. A cleaner passage should leave you reading the next supported surface, rather than making repeated stop-start corrections while the hazard returns. |
| Waiting slowly becomes drifting | Use the brake to settle the vehicle before observing. Check that the car is outside the hazard’s path, then watch a cycle from that clearer position without adding a steering experiment at the same time. | Notice whether the car remains where you intended while the hazard moves. A stable waiting place helps distinguish the obstacle’s changing position from your own unintended approach. |
| The first hazard is clear and the next is rushed | After the first crossing, recognise support and reduce movement enough to read the next swing. Apply the same waiting-and-window routine to that obstacle instead of copying the previous entry timing. | Watch whether the progress indicator and the visible obstacle agree about the next task. The useful evidence is a prepared second crossing, not only the speed carried from the first one. |
YOUR NEXT SESSION
Put it into practice
At the next uncleared hazard, settle the car outside the crossing area and watch one recognisable cycle. Name the direction that creates a useful opening and identify the supported space beyond it. Choose a measured approach, then commit to one straightforward crossing. If the attempt fails, decide whether the mistake concerned the window, the entry or the exit. Use the next life to change only that part. After one crossing becomes familiar, rehearse the same observation routine at the next obstacle rather than carrying the earlier timing forward without looking.
Play Pendulum RunFrequently asked questions
Is the fastest approach always the safest?+
No. Arriving quickly without reading the swing can leave less time to choose a useful window. Prepare enough momentum for a complete crossing, but use the supported waiting area to decide when that crossing should begin. Speed is only helpful after the route is understandable.
Why watch more than one moment of the swing?+
Position alone does not show whether the hazard is moving away or returning toward your route. Observing a recognisable cycle helps you connect direction with the available space. That makes the opening easier to predict instead of guessing from a single frame.
Should I stop after every cleared hazard?+
You should read the next obstacle before entering its path. A full stop is not always necessary once the movement is familiar, but early practice benefits from a settled observation. Carry the routine forward, not an assumption that every swing will offer the same window on arrival.
Final words
Waiting has a job: it lets you predict a crossing window from a stable position. Read direction, prepare an exit and commit before entering the hazard’s path. Then treat the next swing as a new timing question.
Choose one idea from this article, try it in your next run, and notice what changes. A calmer, repeatable attempt gives you something useful to build on.