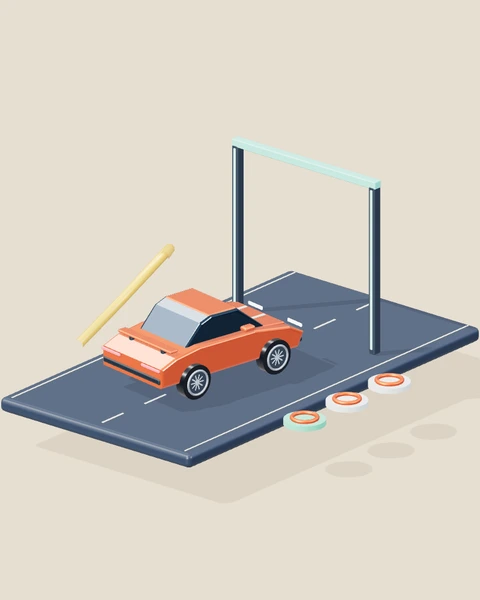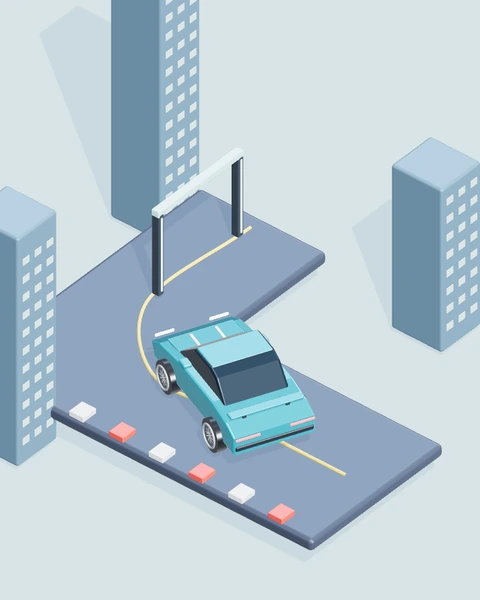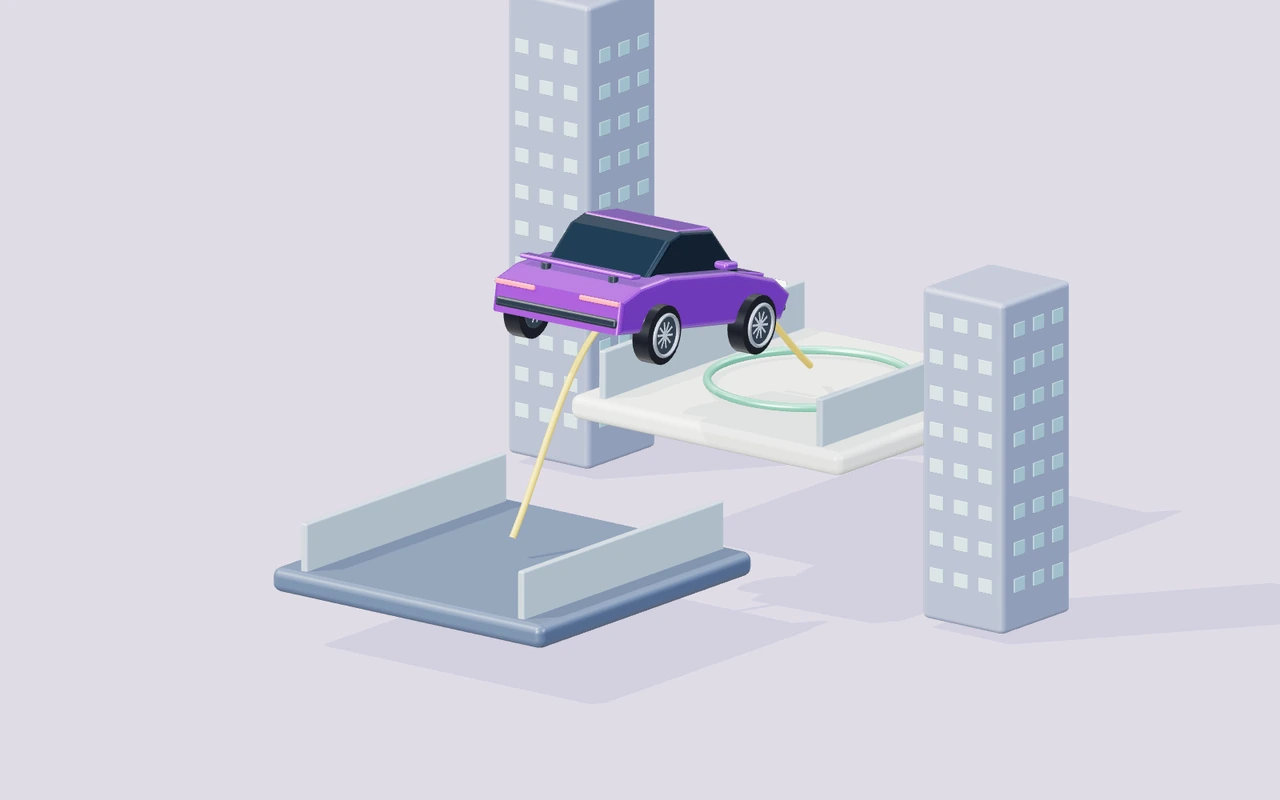
A jump looks most dramatic after takeoff, but many of its useful decisions belong to the supported platform. The landing surface tells you where to aim, which direction should feel settled at departure and how much room will remain after the wheels touch down. If you think only about crossing the visible gap, you can reach the target and still lose the vehicle beyond it. Rooftop Leap makes this distinction clear: distance, support and a usable touchdown all matter. This article explains how to read the landing as a place to continue playing, rather than a distant object to reach at any cost.
Choose an area: A marker is not the whole surface
A target marker draws attention, but the supported platform around it is what the vehicle must use. Look at the near edge, the far edge and the direction in which the next section continues. Those references turn a vague aim toward a ring into an approach toward usable space.
The best-looking centre point may not be the best departure reference if the car is approaching diagonally. First choose a line that reaches the supported region without requiring a large turn at the edge. Then decide how the marker relates to that line. You do not need to invent an exact landing coordinate. You need a visible area that leaves enough space to settle, confirm support and prepare the following action. A touchdown that immediately demands another desperate correction is a less useful result than one that leaves the vehicle manageable.
Read orientation: Distance does not correct a poor heading
A longer flight can carry a poorly aligned vehicle farther along the same unhelpful direction. That is why increasing charge is not a universal answer to a missed landing. Before takeoff, compare the car’s heading with the usable area on the target. If the line is already crossing the platform diagonally, fix the approach while you still have support.
Use a small steering preparation, release it and observe the direction before committing. This separates heading from jump strength. The car can then leave with a line you understand, making any remaining distance problem easier to judge. If a successful flight still passes across the target, do not assume the charge indicator is the only thing to inspect. A clear departure heading can improve the landing without requiring a stronger jump, and it makes the next correction easier to choose if the attempt remains incomplete.
Leave stopping room: Touchdown has a second half
The moment the wheels reach the platform is exciting enough to distract from what happens next. Momentum still carries the car, and the supported area has edges. If you arrive near the far side with a large amount of movement, a technically promising flight can become an overshoot before you have time to prepare the next route.
Think about the direction after touchdown while you are still on the starting platform. Choose a line that gives the car somewhere to continue safely, rather than merely intersecting the nearest visible target. After landing, confirm the vehicle is supported and manageable before adding another launch sequence. This does not require a perfect stop on every surface. It requires enough room to understand the touchdown, recognise any progress indication and begin the following action without treating arrival as the end of your steering decisions.
Use the camera carefully: Perspective is information with limits
A following camera makes height and movement readable, but it is not an overhead measuring instrument. Near and far parts of a platform can appear closer together, and a diagonal line may be difficult to judge while the car is moving. Treat the scene as a set of references you can learn, rather than expecting one glance to reveal an exact trajectory.
Pause or reduce supported movement when you need to inspect the target. Compare the shape of the gap, the marker and the platform edges from a familiar approach position. Keep the graphics profile consistent during a short experiment so changes in sharpness do not become another variable. After an attempt, use the car’s path to check what the earlier view led you to predict. Over a few measured launches, those visual references become more useful than repeatedly judging distance while already airborne.
The marker is reached but the car runs out of room
Your flight passes close to the target marker, yet the vehicle continues toward the far edge before the landing feels settled. The jump had enough distance, so increasing charge would not answer the main problem. Repeat with the usable landing area in mind. Keep a familiar charge and choose a departure line that leaves supported space in the direction the car will travel after touchdown.
Watch where the wheels first meet the platform and how much room remains beyond that point. A landing that gives you time to recognise support is stronger evidence than simply seeing the marker pass nearby. Preserve the distance preparation that already worked. Refine the approach and touchdown position before searching for a more powerful flight. The goal is to arrive with an understandable next action, not only to touch the target.
A sideways approach creates a sideways landing
The car begins from a diagonal position on the starting roof. It crosses the gap, but its path cuts across the target and leaves very little room for a correction after arrival. Return to a supported opening and make alignment the experiment. Steer toward the intended landing direction, release the input and use a familiar launch preparation once the heading is readable.
Compare how the car enters the target surface. A straighter arrival can create more stopping room even when the distance covered looks similar to the previous flight. If the line remains diagonal, settle the heading earlier on the starting roof. Avoid combining a stronger charge with a late turn, because that changes both distance and direction before you know which one needs attention.
A hurried view makes the gap look shorter
You approach quickly and judge the next roof while its near edge grows in the camera. The launch begins before you have identified the far edge or the direction that will remain safe after touchdown. Use a calmer supported approach and read the target before charging. Identify three references: the near edge, the usable area and the outgoing direction. Then choose one launch preparation to test.
Notice whether the target remains easier to recognise during departure. Clearer preparation should make the resulting flight easier to explain, even if its distance still needs adjustment. Keep the familiar viewing position for the next comparison. Change charge only after you can describe the intended landing area. A dramatic camera movement should not force you to guess the entire target geometry at the final moment.
The landing works but the next departure is rushed
You arrive on a platform and immediately begin the next jump because the previous success feels like permission to keep moving. The car is still carrying momentum and the next target has not been read. Let the supported position become clear before starting another sequence. Check the next target and the heading you need, then prepare the following departure as its own decision.
Watch whether the transition becomes easier to repeat. A successful chain depends on how the previous landing positions the car, not only on whether each isolated gap can be crossed. If the next launch remains hurried, rehearse the transition from a checkpoint or a fresh run. Keep the solved flight unchanged and focus on the room and orientation it leaves for the following action.
Keep the experiment useful: Controls, recovery and setup
Before trying the exercise, confirm the current mission in Rooftop Leap: Charge a jump and land on three different skyscraper roofs. The player’s controls table is the reference for the actual actions available. W / ↑ means accelerate. S / ↓ means brake; keep holding to reverse. A / D means steer. Start and focus the canvas before using the keyboard. On a phone, use the labelled touch actions under the scene. Change one input at a time while learning the response; unfamiliar finger placement can otherwise look like an unexplained change in the game’s handling.
Difficulty and Graphics answer different questions. Low creates a calmer learning condition by changing the relevant mission settings; Medium removes some assistance; High uses the base challenge. Changing difficulty begins a fresh run, so choose it before comparing attempts. Graphics changes the rendered scene: Low reduces resolution and disables sunlight shadows, Medium adds shadows, and High increases sharpness, shadow detail and material reflections. A clearer picture can help you read the scene, but it does not replace the movement decision described in this article. Keep difficulty fixed while testing a technique.
Three lives give a run room to continue after detected failure. Read the reason on the Continue panel and choose one correction before recovering. Continue restores a safe position while completed mission objectives remain where the mode supports them. Reset vehicle can recover an awkward position without refreshing the page or spending a life. Recovery does not mean a completely fresh mission: choose Start a new run when you want the original opening. A paused panel stops the active simulation, and a voluntary reset adds no time penalty.
Use the pause control if you need to read, change hand position or look away. Sound and background music have separate controls and begin after an interaction; they are optional feedback rather than prerequisites for understanding the visible target. Fullscreen gives the scene more room, with an expanded-player fallback where the native API is unavailable. If your experiment is about steering or timing, keep the browser, input arrangement and graphics profile consistent. A score from one isolated attempt tells you less than a decision that leaves the vehicle well positioned in several attempts.
Decisions at a glance
| Situation | Useful action | Evidence to watch |
|---|---|---|
| The marker is reached but the car runs out of room | Repeat with the usable landing area in mind. Keep a familiar charge and choose a departure line that leaves supported space in the direction the car will travel after touchdown. | Watch where the wheels first meet the platform and how much room remains beyond that point. A landing that gives you time to recognise support is stronger evidence than simply seeing the marker pass nearby. |
| A sideways approach creates a sideways landing | Return to a supported opening and make alignment the experiment. Steer toward the intended landing direction, release the input and use a familiar launch preparation once the heading is readable. | Compare how the car enters the target surface. A straighter arrival can create more stopping room even when the distance covered looks similar to the previous flight. |
| A hurried view makes the gap look shorter | Use a calmer supported approach and read the target before charging. Identify three references: the near edge, the usable area and the outgoing direction. Then choose one launch preparation to test. | Notice whether the target remains easier to recognise during departure. Clearer preparation should make the resulting flight easier to explain, even if its distance still needs adjustment. |
| The landing works but the next departure is rushed | Let the supported position become clear before starting another sequence. Check the next target and the heading you need, then prepare the following departure as its own decision. | Watch whether the transition becomes easier to repeat. A successful chain depends on how the previous landing positions the car, not only on whether each isolated gap can be crossed. |
YOUR NEXT SESSION
Put it into practice
On one rooftop gap, choose a supported landing area before moving toward takeoff. Identify the near edge, the room beyond your intended touchdown and the direction of the next route. Make an initial flight using a familiar charge. On the next attempt, keep charge similar and change only the departure alignment. Compare the point of arrival and the room left afterward. If distance is still the problem, return to the aligned approach and test launch preparation separately. End with a clear description of the landing you are trying to create.
Play Rooftop LeapFrequently asked questions
Should I always aim exactly at the visible ring?+
Use the ring as a target reference, but also read the supported area around it. The car needs room and a useful heading after arrival. A line that reaches the marker while immediately crossing an edge is not a settled landing to build on.
Can more charge fix a diagonal flight?+
It can increase movement along the same poor line, so it is not a reliable alignment correction. Prepare the heading on the supported platform first. Once the departure direction is understandable, investigate distance using charge and approach preparation as a separate question.
Why read the far edge before jumping?+
It shows how much supported space remains after the car reaches the target. That helps you plan a touchdown which can settle and continue. Looking only at the near edge can make a flight seem successful until momentum carries the vehicle beyond the platform.
Final words
The target is a surface you need to use, not just a marker you need to reach. Read its edges and outgoing direction before takeoff. A good departure gives the car both enough distance and a manageable place to land.
Choose one idea from this article, try it in your next run, and notice what changes. A calmer, repeatable attempt gives you something useful to build on.