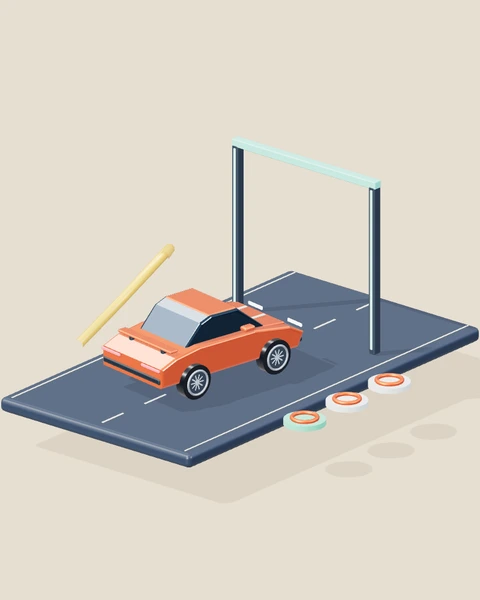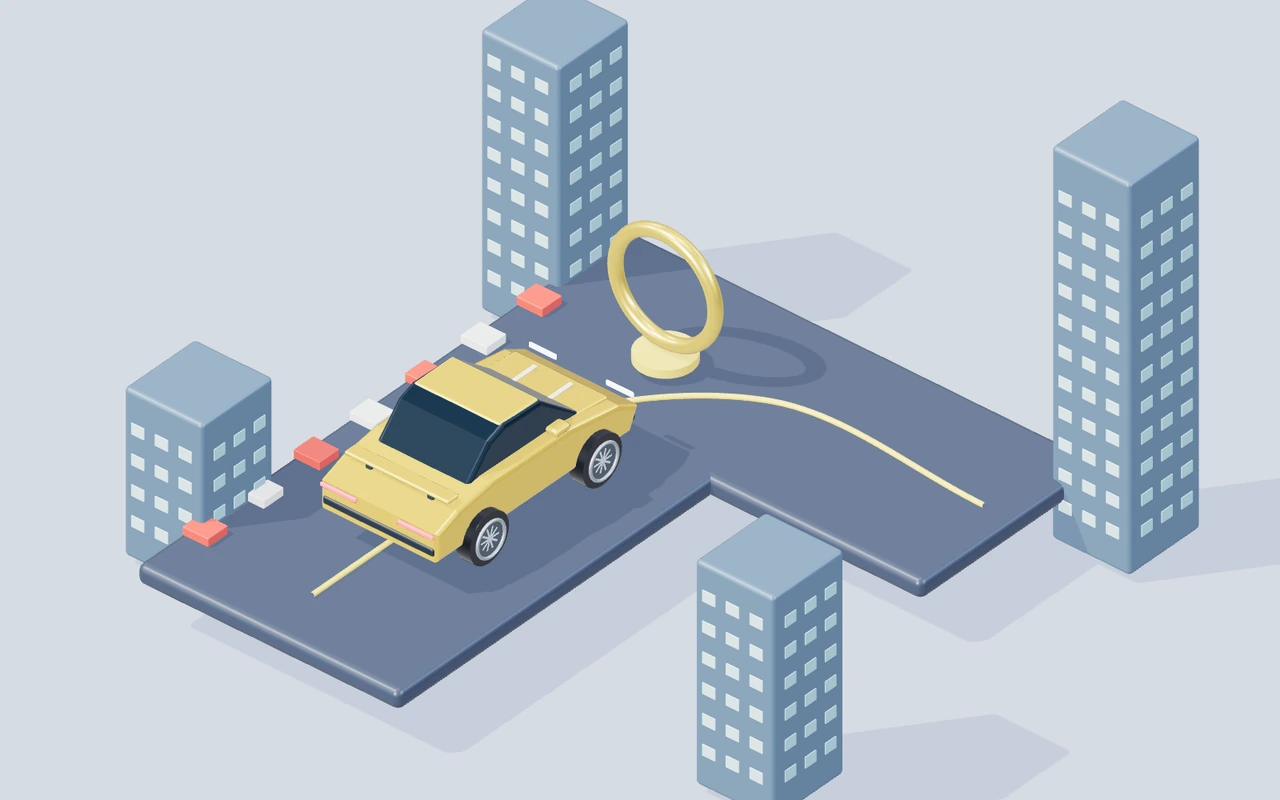
An access beacon can look like the whole target while you approach it, but collecting it is only part of a Pursuit Breakout route. The next street determines whether you keep moving through the mission or turn back into a cramped chase. Three beacons can be collected in any order, and the exit becomes useful only after all three are gathered. That makes route planning more interesting than a fixed sequence of markers. This guide focuses on the space beyond each collection: use solid buildings as route boundaries, watch pursuit positions and choose an outgoing line before spending boost. The objective is an escape route you can understand and revise.
Choose the next street with the beacon: Collection is a transition
Before driving toward an ACCESS marker, look at the street you expect to use after it. A direct arrival can be convenient, but if it leaves the car facing a building or turning back through pursuing traffic, the collection may create the next problem immediately.
The beacons accept any order. Use that freedom to build a route through open space instead of treating the nearest marker as an automatic instruction. A broad loop can be a useful opening idea, while the current chase positions may make an alternative more sensible. Decide on a next street that the car can enter with manageable steering. Collecting one marker removes it and advances the access counter, so you do not need to revisit its original position. Keep reading the remaining access and the route between it. A productive collection leaves both visible mission progress and a usable continuation.
Treat buildings as boundaries: Plan around solid corners
The four buildings have physical collision bodies, and pursuers navigate around blocked areas. Those facts give corners a real role in the chase. A building can force different routes, but it cannot provide an imaginary drive-through escape when your own approach is poorly aligned.
Prepare turns early enough that the outgoing street becomes a usable line. Brake while there is room if the corner arrives faster than you can position the vehicle. A last-second heading change toward a beacon may send the car against a wall instead of around it. Watch the pursuing cars without allowing them to replace your view of the boundary ahead. A route that makes a pursuer take another path can create space, yet no single corner guarantees safety. Reassess the street after turning rather than assuming that the building has permanently removed the chase. The next decision still depends on where vehicles and obstacles actually are.
Use boost beyond a clear turn: Speed should serve an escape line
The regenerating boost reserve is useful when the car has open space to use the added speed. Holding it toward an unresolved corner can shorten the time available for steering and bring the car to the wall faster. Check the exit line before using a burst.
Normal throttle gives you room to prepare a beacon collection or building turn. Once the heading is settled and the street ahead is readable, a short boost can help separate the car from pressure or carry it onward. Release before another difficult change of direction. There are no repair pickups to turn a repeated collision into a free route choice. Meaningful pursuit impacts consume shields, with brief protection against continuous overlapping contact. Keep the shield display in view while deciding how much risk a burst adds. Speed has value when it preserves usable movement through the mission, rather than making one segment look fast before an awkward stop.
Return to the unlocked exit: Access and position are separate conditions
An early arrival at EXIT does not finish the mission. All three unique access beacons must be collected first. Read the counter and remaining visible markers before committing the final route toward the exit, particularly if an earlier recovery interrupted your view of the city.
Continue or Reset vehicle restores protection and pursuing cars while keeping collected access in the active run. That can make a later section a useful practice opportunity, but it also means the recovered street should be read again. The chase positions have changed. A completely fresh run restores the original opening and clears access, giving you a separate test of the full route. Treat these as different experiments: one learns how to finish from preserved progress, the other connects all collections with the escape. Neither requires visiting already collected marker locations simply because they formed part of the first plan.
The nearest beacon leaves a blocked continuation
You drive directly to the closest ACCESS marker and collect it, but the car arrives with a building close ahead. The next direction needs a large correction while pursuing cars are approaching the same street. Plan the collection and outgoing street together on the next attempt. Approach from a line that allows a manageable turn beyond the marker, and use normal throttle until that continuation is visibly available.
Read access progress alongside the car’s remaining room. A useful change keeps the collection while leaving the vehicle able to continue, rather than improving only the speed of its arrival at the marker. Preserve that route segment and decide how it connects to a remaining beacon. The order is flexible, so you can choose another next target if the chase makes the original continuation less useful than expected.
Boost arrives before the corner is ready
A pursuing car closes in and you hold boost while turning beside a building. The added movement brings the wall closer before the heading has settled, and contact interrupts the escape you intended. Prepare the corner with a readable approach and reserve boost for the outgoing street. Brake if needed, steer around the solid boundary and inspect the open line before adding a short burst.
Compare whether the car completes the turn without becoming pinned against the building. A useful burst increases separation along a usable street; the reserve cannot substitute for the missing room at an unfinished corner. Use the shield and pursuit positions to decide how long to continue. Release boost ahead of the next route change instead of holding until another boundary forces an urgent correction or wastes the earlier gain.
The exit is reached with incomplete access
You reach the EXIT marker during a promising chase and expect the mission to end, but one ACCESS marker remains uncollected. The car is now at the destination without satisfying its prerequisite. Read the access counter and visible remaining marker. Choose a route to that target with an outgoing street that can return toward the exit, rather than repeatedly circling the locked destination.
Watch the final marker disappear and the counter reach all three. That is the useful evidence that the exit route has become the mission’s next objective, instead of assuming proximity alone should finish the run. Return on a line suited to the current pursuit positions. An early visit can reveal the destination’s position, but the completed escape still needs a clear route after access is actually gathered.
Recovery preserves access but changes the chase
After exhausted shields, Continue returns the car to a safer state with collected beacons preserved. You immediately replay the previous escape direction while assuming the pursuers occupy the same positions as before recovery. Inspect the restored street, protection and remaining markers before accelerating. Keep completed access as progress, but choose the next line from the visible chase state rather than an old mental picture.
Notice which part of the mission remains and whether the chosen outgoing route is open. Recovery creates another chance to finish; its changed vehicle positions can require a different initial steering or boost decision. Use a fresh run later to compare the entire beacon order under the opening conditions. Preserve the local lesson from recovery without treating a recovered finish as proof that the same route segment always begins with identical pressure.
Keep the experiment useful: Controls, recovery and setup
Before trying the exercise, confirm the current mission in Pursuit Breakout: Collect three access beacons, evade the pursuit cars and reach the unlocked exit. The player’s controls table is the reference for the actual actions available. W / ↑ means accelerate. S / ↓ means brake; keep holding to reverse. A / D means steer. Start and focus the canvas before using the keyboard. On a phone, use the labelled touch actions under the scene. Change one input at a time while learning the response; unfamiliar finger placement can otherwise look like an unexplained change in the game’s handling.
Difficulty and Graphics answer different questions. Low creates a calmer learning condition by changing the relevant mission settings; Medium removes some assistance; High uses the base challenge. Changing difficulty begins a fresh run, so choose it before comparing attempts. Graphics changes the rendered scene: Low reduces resolution and disables sunlight shadows, Medium adds shadows, and High increases sharpness, shadow detail and material reflections. A clearer picture can help you read the scene, but it does not replace the movement decision described in this article. Keep difficulty fixed while testing a technique.
Three lives give a run room to continue after detected failure. Read the reason on the Continue panel and choose one correction before recovering. Continue restores a safe position while completed mission objectives remain where the mode supports them. Reset vehicle can recover an awkward position without refreshing the page or spending a life. Recovery does not mean a completely fresh mission: choose Start a new run when you want the original opening. A paused panel stops the active simulation, and a voluntary reset adds no time penalty.
Use the pause control if you need to read, change hand position or look away. Sound and background music have separate controls and begin after an interaction; they are optional feedback rather than prerequisites for understanding the visible target. Fullscreen gives the scene more room, with an expanded-player fallback where the native API is unavailable. If your experiment is about steering or timing, keep the browser, input arrangement and graphics profile consistent. A score from one isolated attempt tells you less than a decision that leaves the vehicle well positioned in several attempts.
Decisions at a glance
| Situation | Useful action | Evidence to watch |
|---|---|---|
| The nearest beacon leaves a blocked continuation | Plan the collection and outgoing street together on the next attempt. Approach from a line that allows a manageable turn beyond the marker, and use normal throttle until that continuation is visibly available. | Read access progress alongside the car’s remaining room. A useful change keeps the collection while leaving the vehicle able to continue, rather than improving only the speed of its arrival at the marker. |
| Boost arrives before the corner is ready | Prepare the corner with a readable approach and reserve boost for the outgoing street. Brake if needed, steer around the solid boundary and inspect the open line before adding a short burst. | Compare whether the car completes the turn without becoming pinned against the building. A useful burst increases separation along a usable street; the reserve cannot substitute for the missing room at an unfinished corner. |
| The exit is reached with incomplete access | Read the access counter and visible remaining marker. Choose a route to that target with an outgoing street that can return toward the exit, rather than repeatedly circling the locked destination. | Watch the final marker disappear and the counter reach all three. That is the useful evidence that the exit route has become the mission’s next objective, instead of assuming proximity alone should finish the run. |
| Recovery preserves access but changes the chase | Inspect the restored street, protection and remaining markers before accelerating. Keep completed access as progress, but choose the next line from the visible chase state rather than an old mental picture. | Notice which part of the mission remains and whether the chosen outgoing route is open. Recovery creates another chance to finish; its changed vehicle positions can require a different initial steering or boost decision. |
YOUR NEXT SESSION
Put it into practice
Pick an initial beacon and name the street you want after collection. Drive the approach without boost, prepare any building turn early and inspect the continuation as the marker disappears. Extend that plan toward a second beacon using the current chase rather than a mandatory order. Add one short boost only on a clear outgoing line. Before the final return, confirm all three access. After recovery, reread the restored scene and practise the remaining segment. Then use a fresh run to see whether the connected plan still leaves usable space through the complete opening.
Play Pursuit BreakoutFrequently asked questions
Is one beacon order required?+
No. Any order of the three unique markers is accepted. Choose a sequence that serves the current pursuit positions and leaves an outgoing street after collection. A broad loop is a practice idea rather than a compulsory route or a guaranteed escape.
Can a building remove the chase completely?+
Pursuers navigate around blocked building areas, and buildings are solid for the player too. A turn can change routes and create space, but the following street still needs inspection. Do not assume a corner grants permanent safety or allows driving through the obstacle.
What remains after Continue or vehicle recovery?+
Collected access remains in the active run, while protection and pursuing cars are restored. Read the changed scene before continuing. Start a new run resets the original mission opening as well as access, so it is the appropriate action for a complete route comparison.
Final words
Access routes work best when each collection includes a next street. Prepare solid corners, spend boost along a clear continuation and verify all three beacons before returning to EXIT. Recovery preserves useful progress, while a fresh run tests how the entire escape connects.
Choose one idea from this article, try it in your next run, and notice what changes. A calmer, repeatable attempt gives you something useful to build on.