A moving obstacle changes the meaning of a safe route. The target that is lined up now may slide away before you arrive. A swinging ball that is beside the bridge may cross your path while the car is underneath it. These are timing problems as much as steering problems. Kinetic Crossing asks you to land on four moving surfaces in order; Pendulum Run asks you to drive beneath three physical hazards. Both reward observation, but their useful decisions are different. This article explains how to watch a cycle, choose a moment and commit without confusing a moving landing with a clear passage.
A cycle has direction: Position alone is incomplete information
When a platform passes the middle, ask which way it is moving. A central position can be useful if the target is coming toward your intended arrival, or unhelpful if it is leaving the line you need. Looking at one frame tells you location; watching a brief interval tells you motion.
Observe a complete cycle from a supported starting surface before attempting a difficult jump. Notice the outer turning points, the middle crossing and the change of direction. You do not need to measure a precise period to recognise those stages. The aim is to replace a vague impression of movement with a usable reference. Then choose one stage for your next launch and see where the target actually is when the car arrives.
Landing is an arrival problem: Account for the time in the air
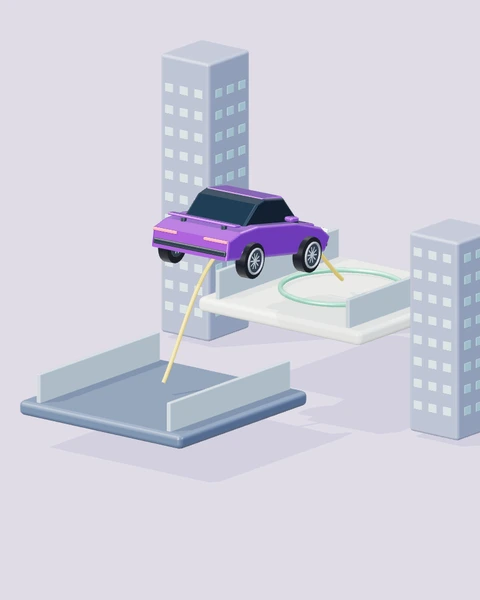
Kinetic Crossing checks ordered supported landings, not a brief pass near a platform marker. Your launch therefore needs to meet a surface at the end of the flight. That surface continues moving while you charge, accelerate and travel across the gap.
Begin with a consistent approach line and charge. Change the launch timing before changing every part of the jump. A miss beside the target may mean the platform moved away during the flight; a miss below it may point toward a different launch issue. Keep those observations separate. After a successful supported landing, use the current platform’s position for the next setup. Its movement makes waiting and repositioning part of the challenge rather than empty time between jumps.
A pendulum asks for passage: Watch when the hazard occupies the road
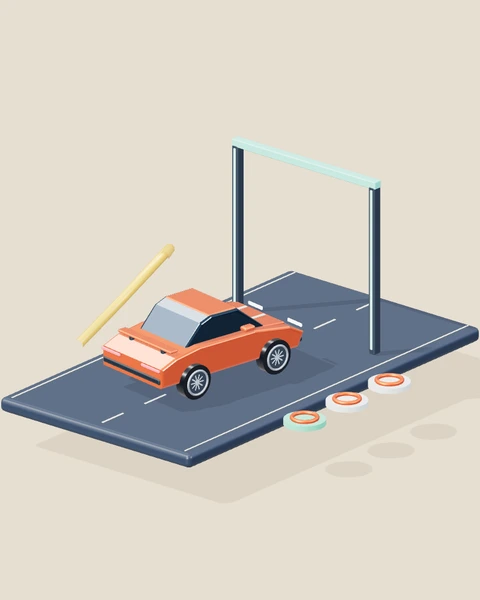
Pendulum Run uses a continuous suspended bridge with swinging balls that can physically contact the vehicle. There is no need to jump between moving landing surfaces. The central question is whether the car can reach and pass a hazard during a useful opening.
Slow before entering the area controlled by the ball. Watch the swing from side to side and notice when the central path becomes clear. A late correction underneath the hazard has less room to work than a calm decision made before it. If you are repeatedly hit at the same ball, practise that passage instead of treating the whole bridge as one sprint. The next attempt should test the chosen opening, not simply add more throttle to the previous collision.
Waiting can be active: Choose a place that preserves options
A useful waiting position is supported and leaves enough room for the next action. Stopping so close to an edge that charging or turning becomes awkward does not necessarily help. Nor does waiting underneath a swinging hazard whose next movement reaches the car.
Choose a position where the target or hazard remains visible and where you can still accelerate deliberately. On a moving-platform route, that may require a small repositioning after landing. On a bridge, it means slowing before the hazard zone. Read the next motion from that position, then commit once an opening is chosen. Good waiting has a purpose: it gives you information and preserves a usable approach. It should not become an indefinite search for a perfectly motionless world.
Change one timing variable: Avoid an unreadable experiment
A jump has several timing decisions: when you start the approach, when you charge, when you release and how quickly you reach the edge. Changing them all after every miss makes it difficult to learn which one mattered. The same problem occurs when a pendulum passage is retried from a different speed and position each time.
Hold most of the sequence steady for a comparison. Use the same supported setup and a similar charge, then launch at a different part of the platform cycle. Or approach the same pendulum at a consistent calm pace and begin moving at a different opening. After the motion timing becomes understandable, refine speed or alignment. This ordered approach turns repeated attempts into evidence rather than a collection of unrelated outcomes.
A calmer setting reveals the pattern: Increase speed after recognition
Low slows the applicable moving hazards and gives more forgiving conditions. That makes it useful for recognising a cycle and connecting a launch to an arrival. The change is in gameplay, so switching Graphics to Light does not create the same extra timing room.
Stay on one difficulty while learning a reference. When you can describe the opening you used, try it under Medium’s tighter conditions. The motion may demand an earlier commitment or a shorter wait, but the basic observation still applies. High is a new comparison after that technique is established. A successful passage made without knowing why is enjoyable, but a passage you can explain is more likely to help with the next moving challenge.
Choose your pace: Difficulty and recovery
Start Kinetic Crossing on Low while you learn its objective: Time four jumps onto platforms that slide sideways over the city. Low is the default in this edition. For the new physical challenges it gives a larger time allowance and calmer handling; applicable courses also have wider landing surfaces or slower moving hazards. Medium sits between that assistance and the High challenge. The setting changes gameplay, while Graphics controls drawing quality. Keeping those decisions separate helps you answer the right question: is the task unfamiliar, or is the device struggling to draw it smoothly?
Each run begins with three lives. A detected failure uses one life and offers Continue from a safe checkpoint. The new vehicle challenges preserve completed objectives within the run; cargo recovery reloads the boxes, pursuit recovery restores shields, and bike recovery returns to a supported part of the course. After the last life, Play again starts a fresh run without reloading the page. Reset vehicle is also available for an awkward position. A voluntary reset does not need to become a repeated page refresh.
Changing difficulty starts a fresh run, because the layout and timing need to agree with the chosen setting. Your saved preference belongs to this browser and this game. Treat a comparison between Low and High as two different practice conditions, rather than evidence that the same score means the same performance. For a fair experiment, keep the difficulty, control method and starting checkpoint consistent. Increase the challenge after you can explain the action that reliably worked, instead of using a harder setting to compensate for a technique you have not yet understood.
Middle crossing: Watch the direction
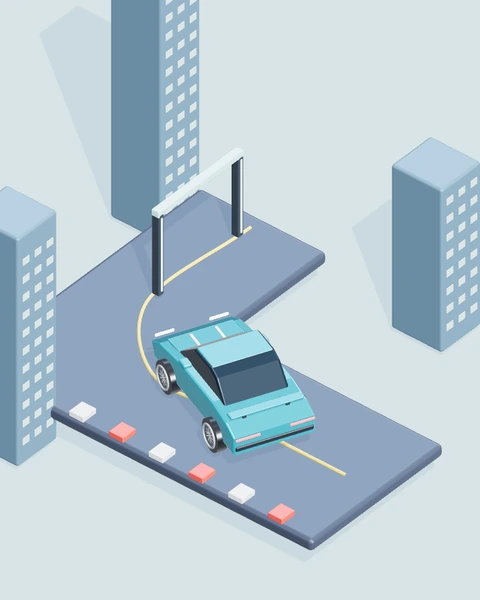
The first platform can appear well aligned while already sliding away from the line your car will use. Watch it move through the middle once, identify its direction, and choose a recognisable moment for the next charged launch.
Compare the target’s position at takeoff with its position when the car reaches landing height. Movement between those moments is the useful evidence. If the arrival consistently falls beside it, change the launch stage before changing power. Keep the initial line similar for the comparison.
Turning point: Notice the brief change of motion
A platform slows its sideways movement near an outer turning point before heading back toward the other side. Use that turning point as a visual reference for one attempt. Do not assume the car should launch only because the target briefly slows.
Observe whether the flight meets the surface as it returns toward your line or arrives after it has already moved past. Keep the timing that creates supported contact. The turning point is a reference for comparison, not a guarantee of a safe landing.
Supported setup: Reposition after arrival
A successful landing leaves the car on a surface that continues moving. The next target may require a different line. Release the throttle briefly, inspect the next platform and reposition while supported before beginning another charge-and-release sequence.
Watch whether the setup leaves room to approach and whether the car is still carried toward an edge by unnecessary driving input. Use the supported surface to prepare the next decision. A rushed second jump can discard the room created by a good first landing.
Swing passage: Commit before the hazard
A pendulum crosses the bridge ahead. Driving into its central sweep while undecided leaves little room to avoid contact. Slow before the sweep, watch one passage and begin moving during the opening you intend to test. Keep the approach pace consistent.
Notice whether the car clears the area before the ball returns. A contact just before clearance suggests a timing margin worth adjusting. Change the departure moment or the calm approach pace separately. Do not turn a repeated collision into an uncontrolled acceleration experiment.
After failure: Return to a readable condition
A missed moving landing or a knock from a hazard uses a life and offers recovery rather than leaving the car below the course. Choose Continue, inspect the supported checkpoint and wait long enough to identify the target’s current cycle before attempting the next action.
The platform’s current position matters more than where it was before the failure. Recovery does not freeze the whole moving world permanently. Choose a fresh opening based on what is visible now. Carry forward the learned correction, not an outdated picture of the previous cycle.
Decisions at a glance
| Situation | First decision | What to observe |
|---|---|---|
| Middle crossing · Watch the direction | Watch it move through the middle once, identify its direction, and choose a recognisable moment for the next charged launch. | Compare the target’s position at takeoff with its position when the car reaches landing height. Movement between those moments is the useful evidence. |
| Turning point · Notice the brief change of motion | Use that turning point as a visual reference for one attempt. Do not assume the car should launch only because the target briefly slows. | Observe whether the flight meets the surface as it returns toward your line or arrives after it has already moved past. |
| Supported setup · Reposition after arrival | Release the throttle briefly, inspect the next platform and reposition while supported before beginning another charge-and-release sequence. | Watch whether the setup leaves room to approach and whether the car is still carried toward an edge by unnecessary driving input. |
| Swing passage · Commit before the hazard | Slow before the sweep, watch one passage and begin moving during the opening you intend to test. Keep the approach pace consistent. | Notice whether the car clears the area before the ball returns. A contact just before clearance suggests a timing margin worth adjusting. |
| After failure · Return to a readable condition | Choose Continue, inspect the supported checkpoint and wait long enough to identify the target’s current cycle before attempting the next action. | The platform’s current position matters more than where it was before the failure. Recovery does not freeze the whole moving world permanently. |
YOUR NEXT SESSION
Put it into practice
Compare two launch moments on the first moving platform while keeping charge and approach similar. Record whether the target was travelling toward or away from the arrival line. Then try Pendulum Run and observe a full swing before the first passage. Keep the distinction clear: one exercise aims for supported contact with a moving surface; the other aims to clear a moving hazard. End with a visual reference you can use on the next attempt in each game.
Play Kinetic CrossingFrequently asked questions
Which game should I use for this practice?+
Use Kinetic Crossing first: Time four jumps onto platforms that slide sideways over the city. The article's examples are organised around its actual objective, rather than a generic racing score. Start with one exercise and a consistent difficulty, then try a related game when you can explain what changes between the two tasks.
Can I practise on a phone?+
The player provides touch controls beneath the scene, including the action buttons needed by Kinetic Crossing. Use two comfortable fingers when actions must overlap. A keyboard offers a different physical arrangement, so allow a few attempts to learn the mobile timing instead of expecting identical finger movements. Keep the browser controls out of the way with fullscreen when that is more comfortable.
What should I do after a failure?+
Use Continue while lives remain. Read the visible reason first, because a missed landing, lost cargo or depleted shields asks for a different correction. After three lives, start a fresh run with Play again. Reset vehicle can recover an awkward position without refreshing the entire page. The browser retains preferences and available local records when storage is allowed.
Does the exercise promise a particular result?+
No. These are repeatable practice comparisons, not a guaranteed score or a real-world driving qualification. Timing, starting position and control method affect the result. Look for a reliable change in your decisions before treating a single good attempt as mastery. The game guide remains the place to check the complete mission rules and controls.
Final words
Timing becomes manageable when you observe direction as well as position and make the decision before entering the difficult area. Platforms require a useful meeting at landing; pendulums require an opening long enough for passage. Consistent setups, calmer difficulty and checkpoint recovery help you compare those decisions without turning every retry into an unrelated rush.
Choose one idea from this article, try it in your next run, and notice what changes. A calmer, repeatable attempt gives you something useful to build on.